Related search
Kitchen Appliances
Pet Accessories
Engagement Rings
Decorating Design
Get more Insight with Accio
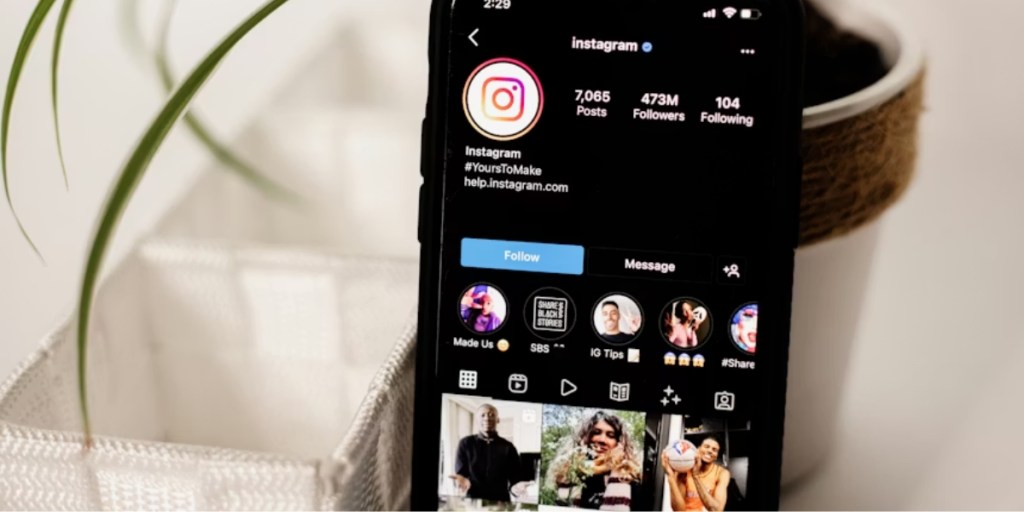
How to Fit the Whole Picture on Instagram Without Cropping
How to Fit the Whole Picture on Instagram Without Cropping
4min read·Jim Volgano·Feb 11, 2026
If you use Instagram for business, you already know how frustrating it can be when your images get cropped. You design a visual carefully, but when you try to post it, Instagram simply won’t let you zoom out enough. That means the edges and important details of some images get cut off, and your message doesn’t land the way you intended. If you’re not sure how to fit the whole picture on Instagram without losing parts of your image, this guide will help.
In this guide, you’ll learn exactly how to post full images on Instagram without cropping, so your customers can see everything as you planned.
Table of Contents
- Why Instagram crops your images
- How to fit the whole picture on Instagram (portrait or landscape)
- How to use a photo editing app to post full pictures on Instagram
- Conclusion
Want to explore more about How to Fit the Whole Picture on Instagram Without Cropping? Try the ask below
How to Fit the Whole Picture on Instagram Without Cropping
Why Instagram crops your images
Instagram prioritizes clean, consistent feeds. Supported aspect ratios on Instagram include 1:1 (square), 4:5 (portrait), and 1.91:1 (landscape). The app optimizes for mobile screens, so it crops to fit supported ratios.
When you tap the post button at the bottom of Instagram and try to upload a long image, you’ll notice a problem immediately. The picture is longer than what Instagram allows by default, and you want to include the whole thing, especially if it’s a product image, flyer, infographic, or promotional visual for your business. Sometimes, even when you pinch the image with your fingers, Instagram doesn’t let you zoom out anymore.
The good news is that you can get around this.
How to fit the whole picture on Instagram (portrait or landscape)
If you have a photo that’s portrait or landscape and you don’t necessarily want to crop it to the standard square format Instagram uses, you can always upload it as a full picture within the app. Hop into Instagram and tap on the plus icon at the top right of the screen. Choose a photo from your gallery. In the bottom corner of the picture, you’ll notice two arrows.
Switching between square and full crop
When you tap those arrows, Instagram switches the image to the default one-by-one square crop. But all you have to do is tap that icon again, and it switches back to the full photo crop, using the original aspect ratio of your image.
You can go back and forth between the square crop and the normal crop as many times as you want. This works the same way for portrait photos as well.
This is a really useful feature Instagram has now, especially if you want your visuals to look exactly how you designed them for your business.
Important tip when posting multiple photos
There is one important caveat you need to keep in mind. If you’re posting multiple photos in one post, Instagram will automatically crop all the images to match the aspect ratio of the very first photo you select.
For example, if your first image is a portrait, then any landscape photos you add after that will be cropped into portrait orientation. This can completely change how those images appear.
How to avoid cropping in carousel posts
To avoid this problem, make sure the very first photo you select is in the aspect ratio you want to use for the entire post. Alternatively, you can switch all the images to a square crop so they stay consistent. But if you want to keep full-size images, the first photo you choose controls everything. This is especially important for business posts where consistency and presentation matter.
How to use a photo editing app to post full pictures on Instagram
Above, we saw how you can use built-in Instagram features to post full pictures on the app. However, this is a new feature, and here we’ll go old school again and show you how to use third-party apps to post whole pictures on Instagram. The app we’ll use in this guide is called Square Fit (get it on App Store or Google Play), but you don’t have to use this exact app. Essentially, it’s just a photo editing tool, and other apps such as Kapwing and Canva can do the same thing.
Square Fit has a premium option, which comes with additional features, but you can use the free version, which works perfectly for this purpose.
How to prepare your image step by step on Square Fit
Once you open the app, tap on New at the bottom left. Choose Photo, then select the image you want to post on Instagram without it being cropped.
You’ll now see your image inside a square canvas. At this stage, you can position the photo exactly how you want it to appear on Instagram.
If you see black bars, you can remove them by pinching the image slightly with two fingers until it looks right. This helps the image feel more natural in the Instagram feed.
Adjusting the canvas for a clean look
By default, the canvas is set to a 1:1 ratio, meaning the width and height are exactly the same. This is ideal for Instagram posts.
If you want to make changes, tap on Canvas and adjust the size if needed. You can also scroll through other options, such as adding frames, but for business content, it’s usually best to keep things simple.
Once you’re happy, tap the tick to confirm.
Save and post the full image on Instagram
Now tap Save in the top right. Allow the app to add the photo to your gallery.
After that, close the photo editing app and open Instagram. Tap the post button again, select the edited image, and you’ll see that it now fits perfectly. The edited but fully cropped image has white borders, and you can leave it that way if you like.
Conclusion
When you have a portrait or landscape photo and don’t want to crop it to the standard square format Instagram uses, you can always upload it as a full picture. All you need to do is tap the double-arrow icon on the image, or use a third-party app such as Square Fit or Canva to keep the full picture. If you’re using the double-arrow option and posting multiple images, keep in mind that all images will be cropped to match the dimensions of the first image you select.
Now that you know how to fit the whole picture on Instagram, your images can be displayed properly, and your brand looks more professional. Your audience can clearly see your products, designs, and marketing visuals without losing important details to cropping when you post full images that fit on Instagram.
However, this is just one step in using Instagram for business. To grow your brand on IG, you need other insights that help with marketing, strategy, and decision-making. This is where the Accio AI tool for B2Bs comes in. The tool provides the information you need to support your business goals, from marketing and strategy to supplier evaluation and more. Simply upload an image or enter your question, and Accio does the rest.